Hydraulic jacks are widely used in automotive repair and industrial maintenance, but improper operation often causes equipment damage and injury. Focusing on hydraulic floor jacks, this guide covers pre-use checks, standard procedures, key safety rules, scenario-specific guidelines, maintenance and troubleshooting, helping technicians and DIY enthusiasts operate safely and efficiently.
How to Use a Hydraulic Floor Jack Correctly: Step-by-Step Guide + Safety Precautions
Hydraulic jacks are the most widely used lifting tools in automotive repair, industrial equipment maintenance, and heavy load relocation scenarios, valued for their compact size, powerful lifting capacity, and easy operation. Yet behind this seemingly simple operation, numerous incidents of equipment damage and personal injury occur every year due to non-standard operations and lack of safety awareness.
Mastering standard operating procedures and safety guidelines is not only the core prerequisite for ensuring the personal safety of operators, but also the key to reducing tool wear and extending the service life of hydraulic jacks. This article focuses on the hydraulic floor jack, the most commonly used type in automotive repair scenarios, and explains the complete operating steps and full-process safety specifications in detail.
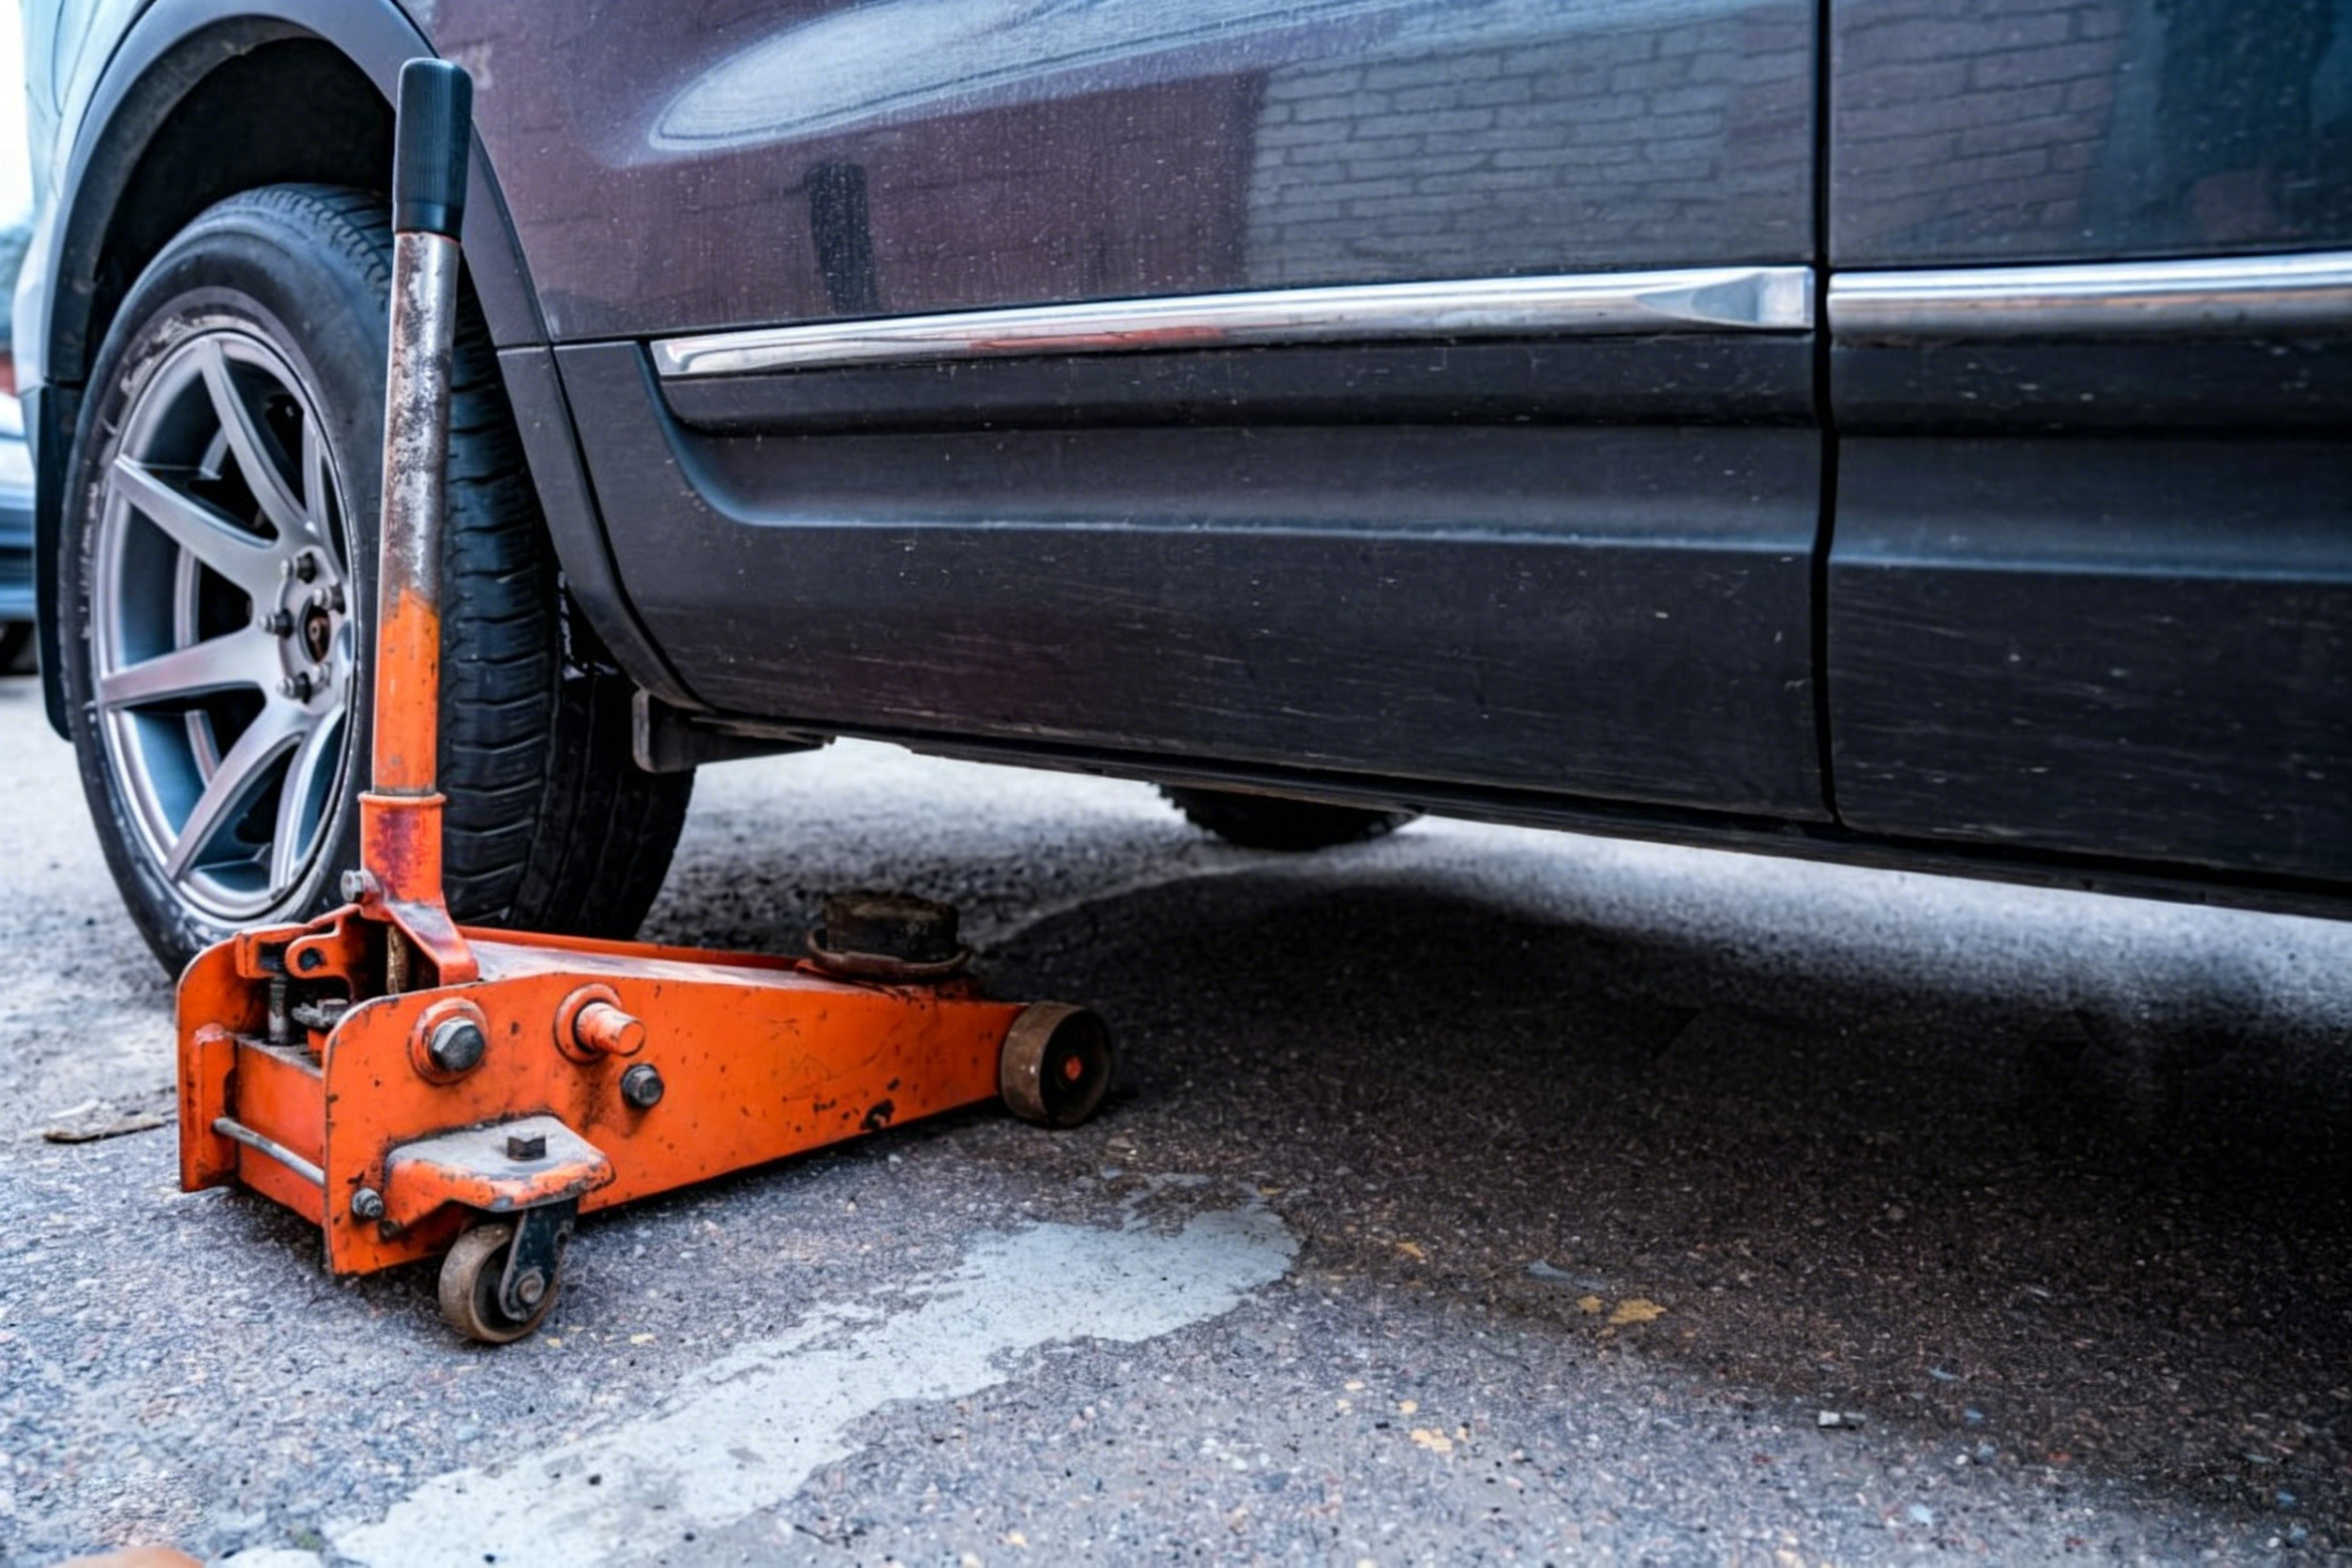
1. Pre-Use: Essential Inspections and Preparations
Adequate preparation before operation is the first line of defense against safety accidents. Never start operating directly; be sure to complete the following 5 inspections:
1. Verify Rated Load Capacity, Strictly Prohibit Overloading
- First confirm the actual weight of the load/vehicle to be lifted, and select a hydraulic jack with a rated tonnage of at least 1.2 times the actual weight to reserve a safety margin.
- Do not exceed the rated load of a single jack by "stacking multiple jacks for lifting". For multi-point synchronous lifting, a dedicated synchronous lifting system must be used.
- Distinguish between "rated lifting tonnage" and "maximum lifting height"; over-travel use is strictly prohibited.
2. Inspect the Condition of the Jack Itself
- Check the oil cylinder, hoses, and joints for oil leakage or seepage. A leaking jack must not be used.
- Inspect components such as the handle, piston, saddle, and casters for deformation, cracks, or jamming. Apply a small amount of lubricant to moving parts.
- Confirm that the safety valve is intact and functional. Do not adjust the safety valve pressure without authorization.
- For jacks that have been idle for a long time, perform idle lifting and lowering several times before use to expel air from the oil cylinder.
3. Confirm the Work Environment and Ground Conditions
- Operate only on firm, flat, and level ground; concrete ground is the optimal choice.
- On soft ground (soil, asphalt, tiled floors), place hard wooden boards or steel plates with a thickness of at least 20mm to expand the contact area and prevent sinking or tilting.
- Keep the work area well-lit, free of standing water and oil spills. Do not use the jack on slopes or steps.
4. Locate the Official Designated Lifting Points
- For automotive repair, always align with the factory-marked lifting points (usually on chassis longitudinal beams and door sill reinforcements). Never lift on weak components such as the oil pan, transmission, suspension control arms, or fuel tank.
- For industrial equipment lifting, select load-bearing reinforced positions on the equipment base, and avoid lifting on non-load-bearing structures such as casings and cover plates.
5. Prepare Auxiliary Safety Protection Equipment
- Essential supporting equipment: jack stands. A jack is only for lifting, not for long-term support. Jack stands must be set up before any person works under the load.
- Personal protection: wear anti-slip gloves and safety goggles. Do not work in slippers or sandals.
- Auxiliary tools: wheel chocks and triangular wood blocks to secure wheels and prevent rolling.
2. Standard Operating Steps for Hydraulic Floor Jacks
Taking automotive repair as an example, strictly follow the 6 steps below for stable and controlled operation throughout the process:
Step 1: Secure the Work Object and Lock Displacement
- Turn off the vehicle engine. For manual transmissions, shift to 1st gear or reverse; for automatic transmissions, shift to Park (P) and engage the parking brake firmly.
- Place wheel chocks or triangular blocks in front of and behind the wheels on the non-lifting side to completely eliminate the risk of vehicle rolling.
- Clear debris under the vehicle chassis to reserve sufficient operating space.
Step 2: Position the Jack and Initial Alignment
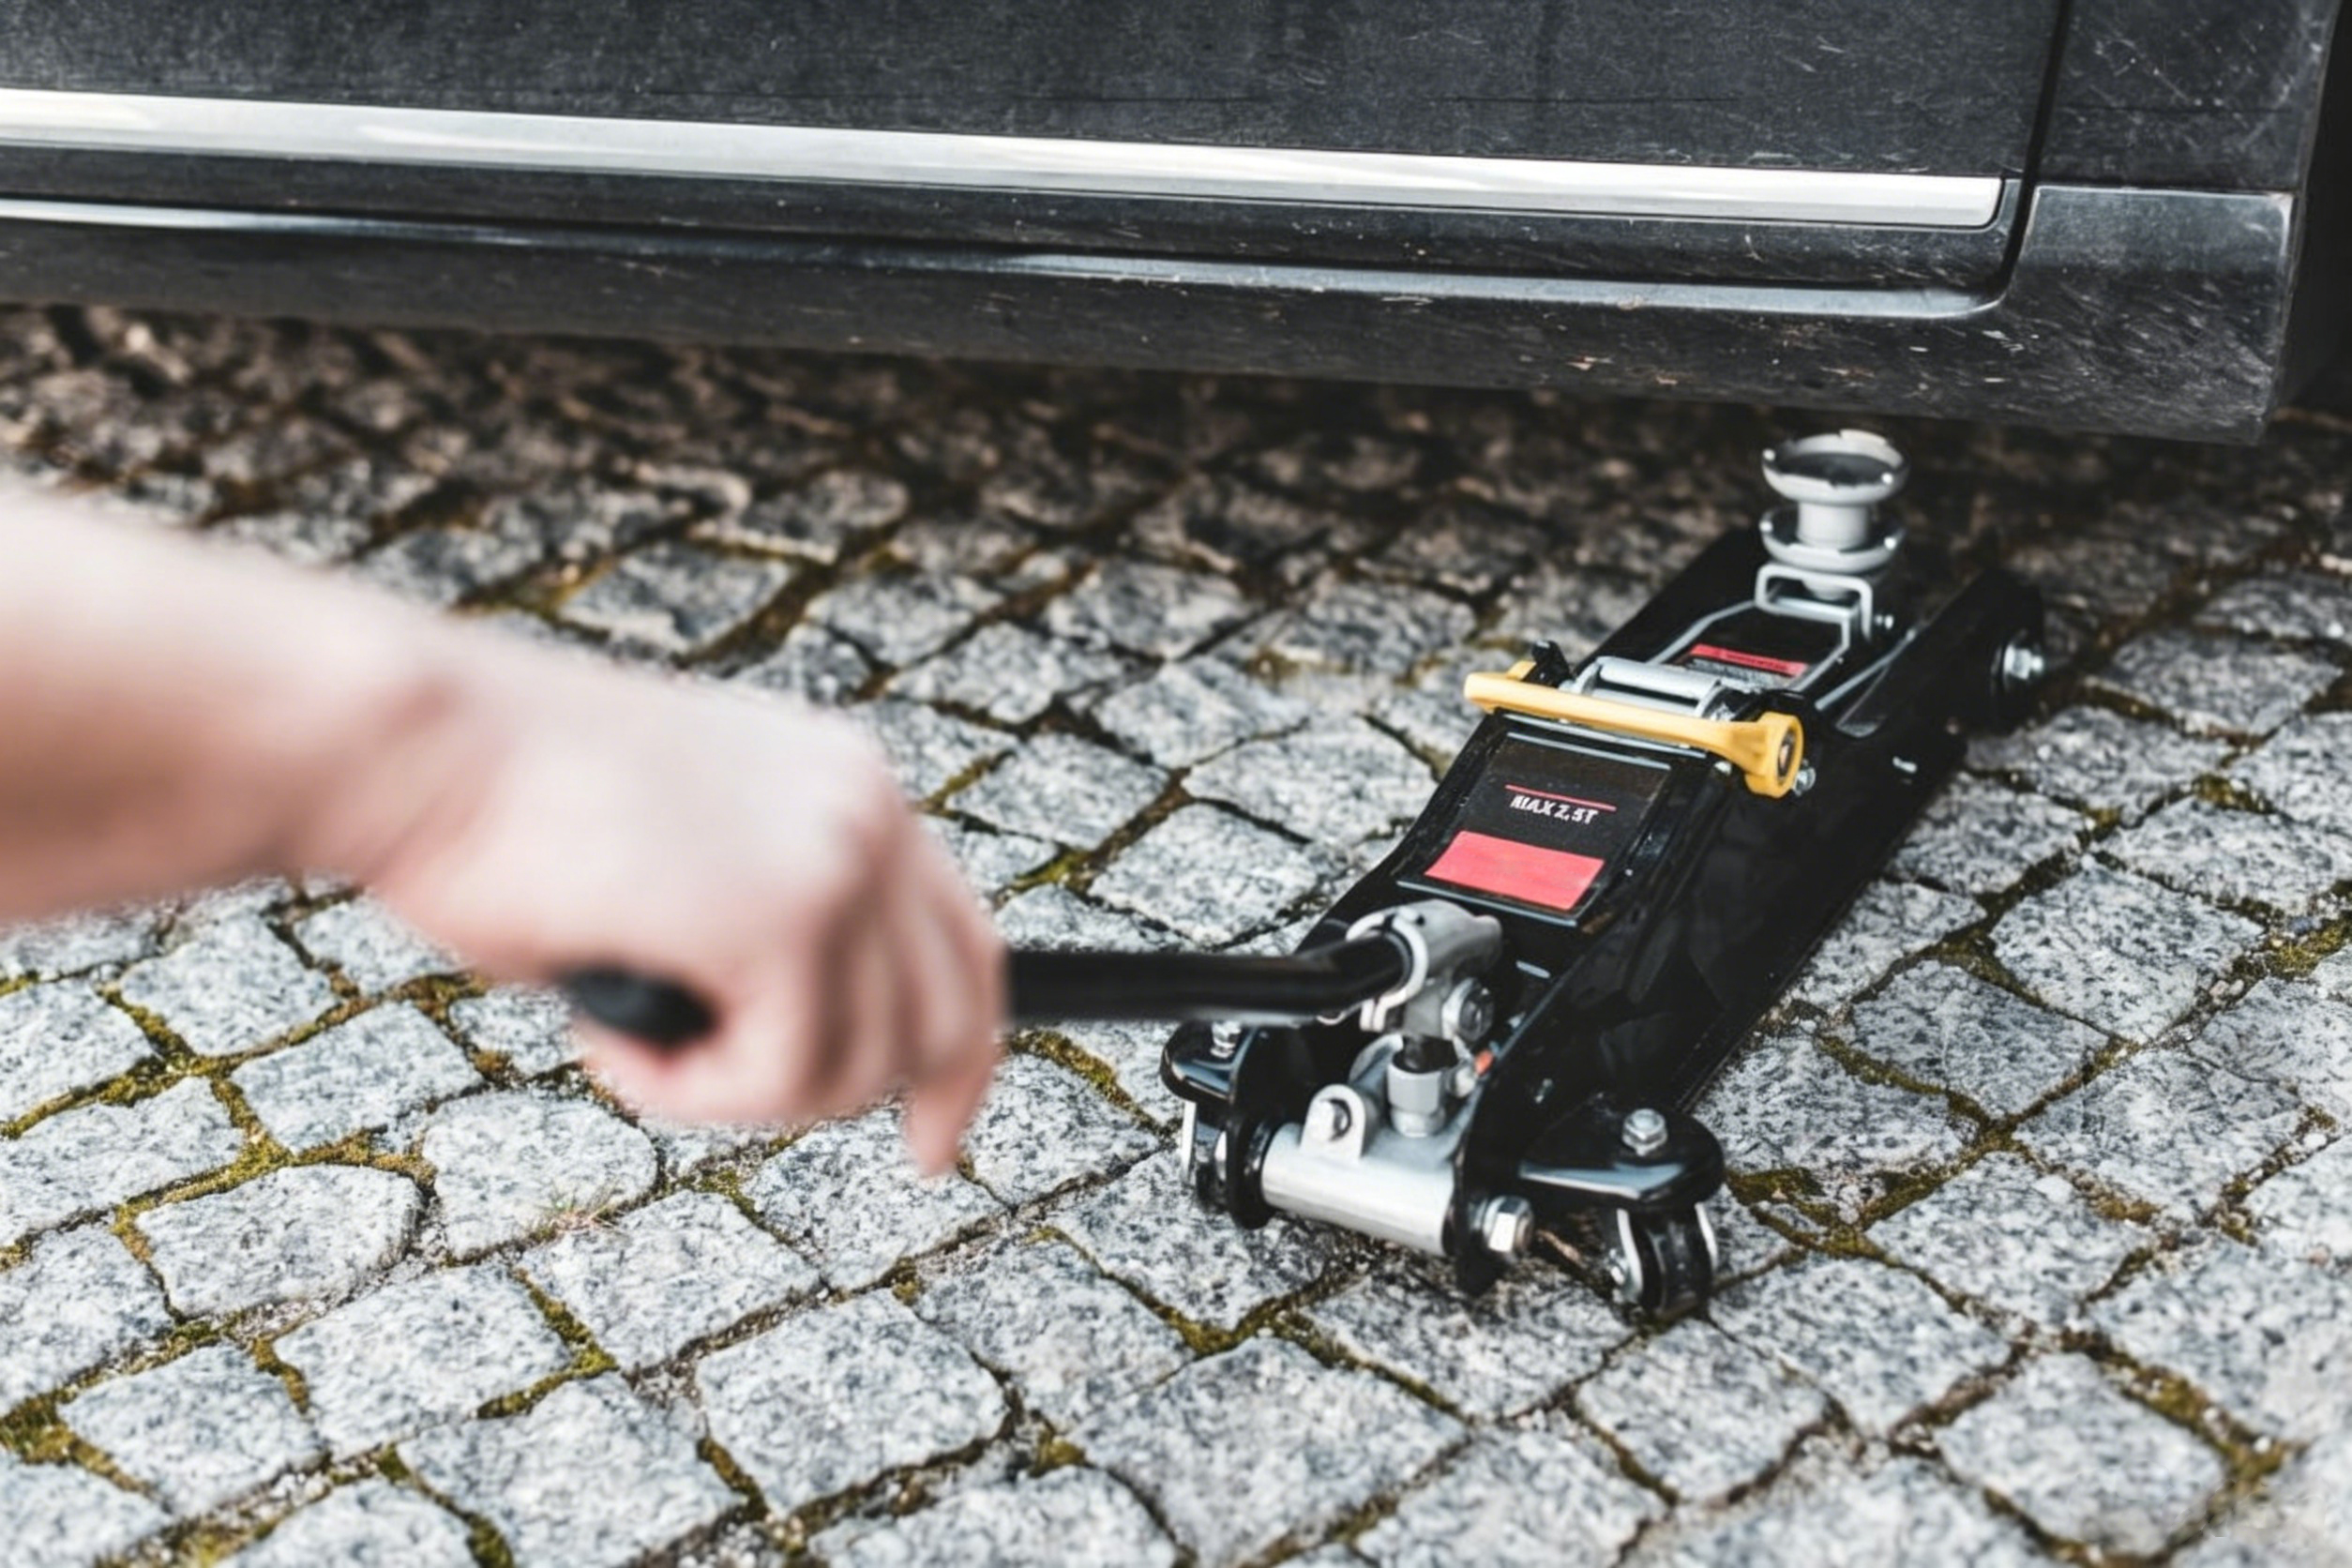
- Slide the jack under the vehicle chassis, aligning the center of the lifting saddle with the factory lifting point.
- Adjust the jack position to ensure the base is fully in contact with the ground, and the entire jack is vertically level with no tilt or offset.
- For low-profile jacks, confirm that the minimum height allows smooth entry under the chassis; do not force or pry it into place.
Step 3: Pre-Lift for Contact and Secondary Confirmation
- Crank the handle slowly to raise the lifting saddle gradually until it makes full contact with the support surface.
- Double-check that the alignment is accurate, the jack is vertical, and the base is firmly seated. If there is any offset, lower the jack immediately to readjust.
- Do not adjust position or correct offset during the lifting process.
Step 4: Lift at a Steady Speed and Control Height
- Hold the handle with both hands and crank up and down at a uniform speed to maintain a steady lifting pace. Rapid, forceful cranking is prohibited.
- Continuously monitor the vehicle condition and jack posture during lifting. Stop operation immediately if there is abnormal noise, offset, or ground sinking.
- Lift to slightly above the target height only; there is no need to reach the maximum stroke. Always reserve a safety margin.
Step 5: Set Up Jack Stands and Transfer the Load
- Once the target height is reached, place jack stands directly under the factory support points, adjust to the corresponding height, and lock them in place.
- Slowly open the release valve to lower the jack gradually until the full weight of the vehicle is supported by the jack stands.
- Confirm the stands are stable and the vehicle does not wobble before any person works under the vehicle.
Step 6: Lower and Store Properly
- After completing the work, first remove all tools and debris from under the vehicle, and have all personnel move to a safe area.
- Crank the jack again to lift the vehicle slightly, then remove the jack stands.
- Slowly turn the release valve counterclockwise to control the piston to descend at a uniform speed. Do not release the valve quickly, which would cause the load to drop suddenly.
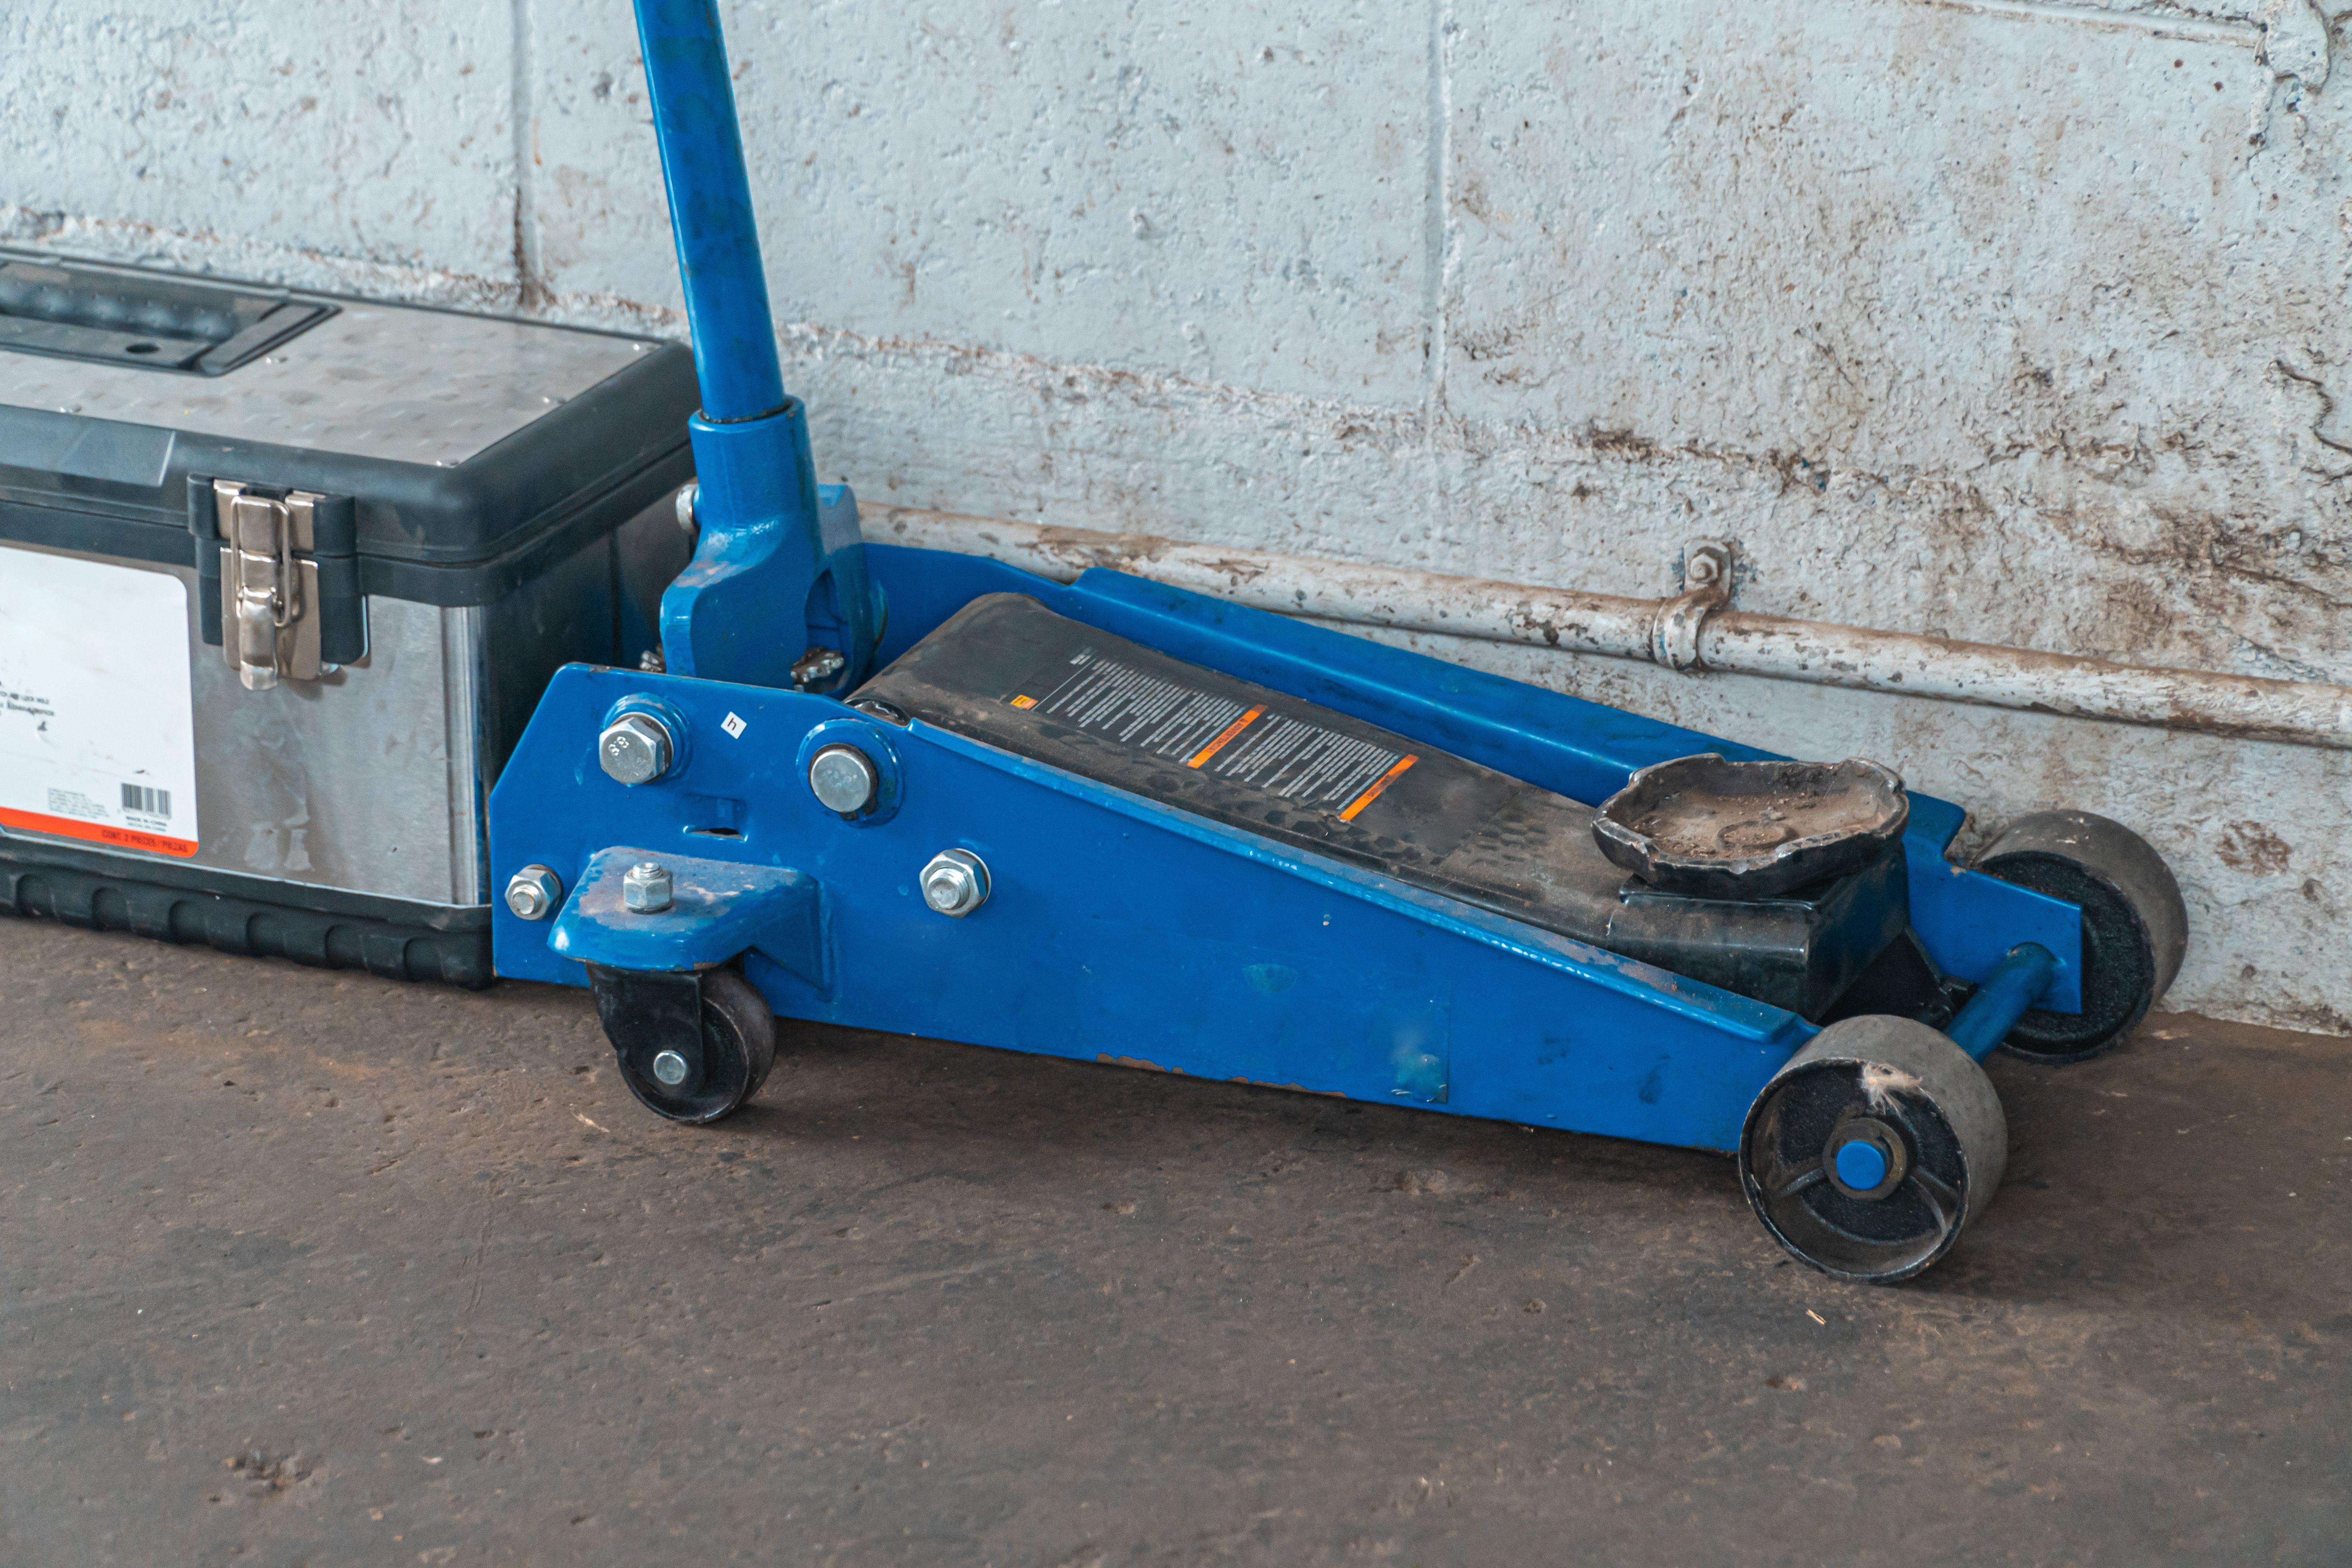
- Once the piston is fully retracted, stow the jack, wipe it clean, and store it in a dry, well-ventilated place.
3. Strictly Prohibited Dangerous Operations (Safety Red Lines)
The following behaviors carry a high risk of safety accidents and must be strictly prohibited during operation:
- Never work under a load supported only by a jack. Jack stands must be used in all circumstances.
- Never overload or over-travel the jack. Do not use extended handles or pipes to forcefully increase lifting force.
- Never apply lateral force or lift at an angle. Hydraulic jacks are designed for vertical loads only; lateral force can easily cause slippage and cylinder damage.
- Never use bricks, wood blocks, or stones as a substitute for dedicated jack stands. Fragile, slippery objects cannot provide stable support.
- Never leave people inside the vehicle or start the engine while lifting. Vehicle vibration can easily cause the jack to slip.
- Never stack iron blocks, bricks, or other items on top of the jack to increase height. Raising the center of gravity greatly increases the risk of tipping.
- Never disassemble or modify the hydraulic cylinder and safety valve without authorization. Uncontrolled pressure after modification can directly cause rupture and injury.
4. Special Usage Specifications for Different Scenarios
1. Heavy Vehicle / Equipment Scenarios
- Before using a large-tonnage bottle hydraulic jack, confirm the load-bearing capacity of the base support surface. Lay thick steel plates to disperse pressure if necessary.
- For multi-point synchronous lifting, maintain consistent speed across all points, assign a dedicated person for unified command, and monitor the lifting height of each point continuously.
2. Outdoor Field Operation Scenarios
- Outdoor ground conditions are complex. Use sufficiently large base plates to prevent ground sinking.
- Do not perform outdoor lifting operations in strong wind, rain, or snow. Wet and slippery ground greatly increases the risk of slippage.
3. Long-Term Support Scenarios
- If a load needs to be supported for an extended period, use dedicated load-bearing stands. Hydraulic jacks must not remain under pressure for long periods.
- Long-term pressure accelerates aging of cylinder seals, leading to faults such as oil leakage and pressure relief.
5. Daily Maintenance and Common Troubleshooting
Basic Maintenance Tips
- Wipe off oil stains and dust from the surface after each use. Keep the piston rod clean to prevent sand particles from scratching the seals.
- Replace hydraulic oil regularly. Expel air from the cylinder when changing oil.
- For long-term storage, fully retract the piston and place the jack in a dry, cool, non-corrosive environment, away from direct sunlight and rain.
Common Fault Emergency Handling
- Insufficient lifting force, slow lifting speed: First check for low oil level or air in the cylinder. Refill oil and perform repeated idle lifting to bleed air. If the problem persists, check for worn seals or blocked oil passages.
- Automatic lowering, pressure relief: Most often caused by damaged seals or a poorly closed release valve. Stop using the jack immediately and replace the seal assembly. Do not operate a faulty jack.
- Sudden offset during lifting: Stop operation immediately, lower the load slowly, readjust the alignment, and resume lifting. Do not forcefully straighten the jack while under load.
Conclusion
The core principle of using a hydraulic jack will always be "safety first, standard operation". Even the highest-quality tool can only deliver its full value when paired with correct operating methods and safety awareness.
If you are looking to purchase high-quality hydraulic jacks that meet industrial safety standards with overload protection, you can browse our full range of hydraulic lifting tools. You may also contact our technical team to get product solutions tailored to your specific work scenarios.
